Replacing a PWM controller (Mounting Bracket Method)
There are two methods to mount a PWM controller. One methods uses a bracket to hold the controller to the mounting plate. The other uses four screws to hold the controller to the mounting plate. Check which method your Pukka uses by removing the black battery cover and looking at the controller located in front of the batteries.
Click here for
Screwed To Mounting Plate
Mounting Bracket Method
Replacing the PWM controller by this method involves disconnecting the components that plug into the controller, sliding the controller out of the bracket, and installing the new controller.
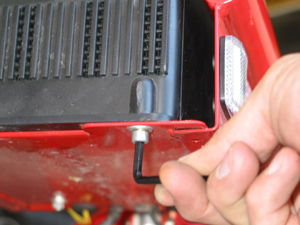
Remove the battery cover by loosening the bolts on the bottom of the battery tray.
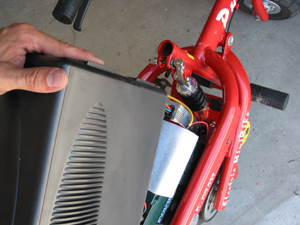
Raise or remove the seat to allow access to the battery cover. Slide the battery cover to the rear and lift the cover.
Disconnect all wires that plug into the controller. There will be four wires at the bottom of the controller for the throttle, ignition switch, Parental Speed Control (PSC) switch, and the brake shut off. The two sets of thicker wires on the top are for the motor and the battery.
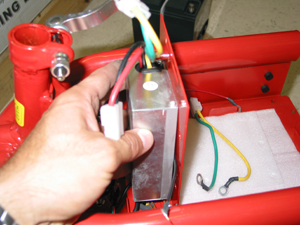
Pull upwards on the controller to slide it out of the bracket.
Install the new controller sliding it down into the bracket with the yellow and green wire up. Then connect the components to the controller. The wire connectors should only match with the appropriate component. The yellow and green wires connect to the battery. The yellow wire is the positive (red terminal on the battery) and the green wire is the negative (black terminal on the battery).
NOTE Remember to connect the thin red and black wires that come from the charger port on the side of the Pukka to the positive and negative terminals of the batteries. Without them, your Pukka will not charge.
Replace the battery cover and seat.
Replace the battery cover and seat.