Replacing the rear tire
Removing the wheel
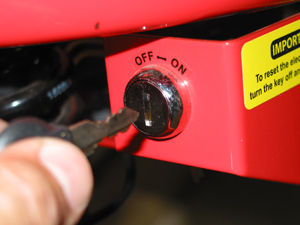
Remove the ignition key from the switch to avoid injury to you or damage to your Pukka.
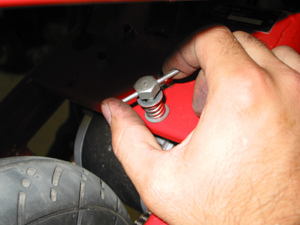
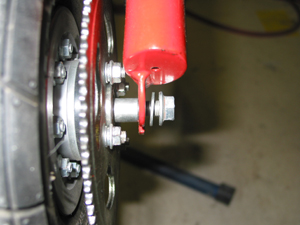
Loosen the tensioning bolt to allow the motor to pivot toward the tire.
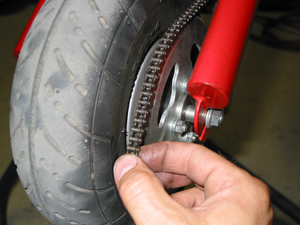
Remove the chain from the rear sprocket.
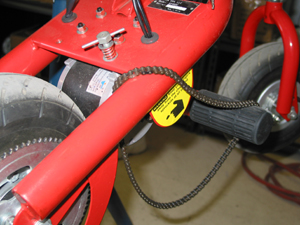
Remove the chain from the front sprocket and move it out of the way.
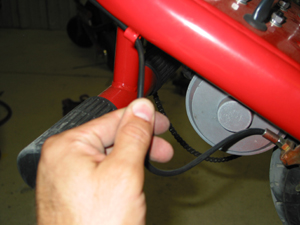
Pull enough of the brake cable through the lugs to allow the tire to be removed.
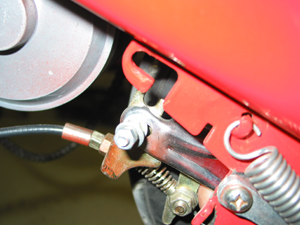
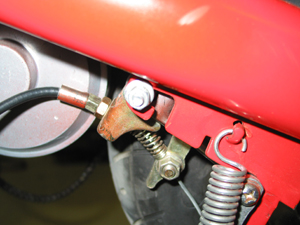
Loosen the nut that holds the brake housing to the frame. This will rotate down and out of the notch as you slide the tire out of the axle slots of the swing arm.
Loosen the axle nuts and slide the tire out of the axle slots. Remove the axle assembly and brake.
Dismantling the wheel assembly
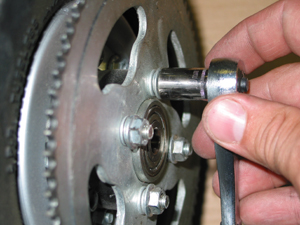
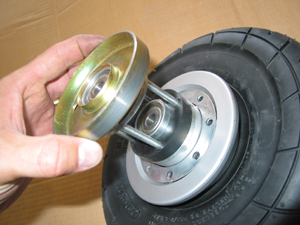
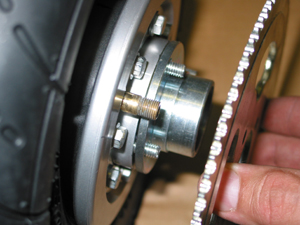
Once the rear tire assembly is removed from the Pukka, remove the sprocket and brake drum. The sprocket and brake drum are connected by four bolts that go through the wheel. Loosen the nuts on the sprocket side and pull the brake drum away from the wheel.
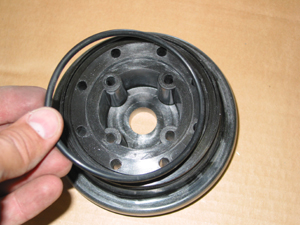
The wheel halves are held together by eight bolts. Remove the bolts and pull the wheel halves apart. Each side will have a metal ring and a bearing cup. Inside the wheel is a metal tube spacer and a rubber O-ring.

Assembling the wheel assembly
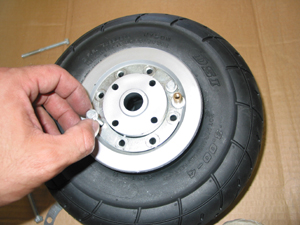
To re-assemble the wheel with the new tire, place the wheel half without the air valve stem on a flat surface. This half has a groove for the O-ring. Place the O-ring in the groove.
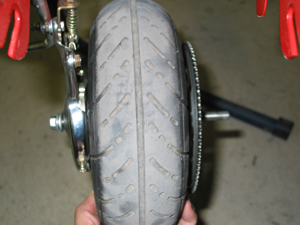
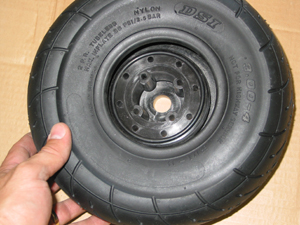
Place the new tire over the wheel half so that the shape of the treads point in a clockwise direction. (Opposite from what is shown in this picture.)
Place the wheel half with the air valve stem in the center of the tire, making sure that the four inner holes are aligned.

Place the metal ring with the air valve stem notch on the wheel half.
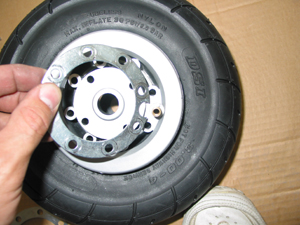
Insert the eight bolts into the wheel. Start by putting two bolts at opposite sides of the circle.
Place the metal ring on the other side of the wheel and tighten the nuts.

On the wheel half without the air valve stem, place the bearing cup in the center of the wheel. Align the holes.
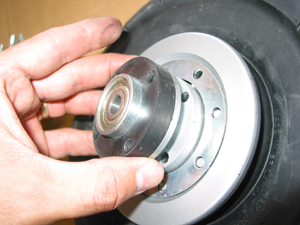
Attach the brake drum by inserting the four bolts through the bearing cup to the other side.
Insert metal tube spacer into the sprocket side of the wheel.
Replace the other bearing cup on the sprocket side of the wheel.
Replace the sprocket.
Replace the washers, lock washers, and nuts.
Mounting the wheel assembly
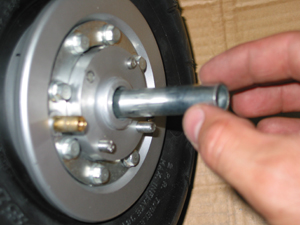
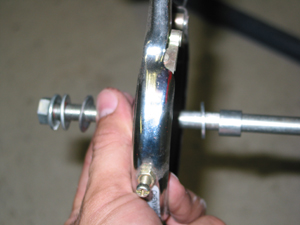
Once the wheel assembly is together, mount the wheel by re-assembling the axle and placing the wheel on the Pukka. Place an axle nut on the axle and two washers. Slide the brake on followed by a washer and the smaller spacer. Your axle should look like the picture below.
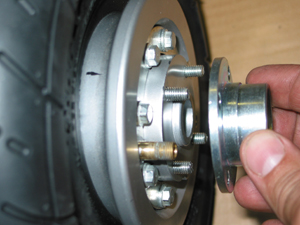
Insert the axle into the center hole of the brake drum side of the wheel assembly. On the sprocket side, place the smaller spacer, a washer, and an axle nut.
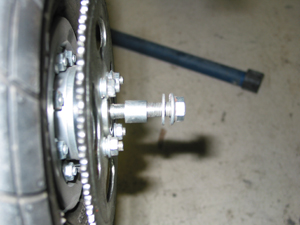
The axle slot on the brake side should slide between the two washers on the brake side of the wheel.
The axle slot on the sprocket side should slide between the spacer and the washer on the sprocket side of the wheel.
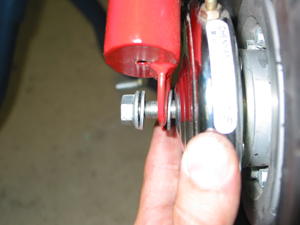
Slide the bolt of the brake housing into the slot of the swing arm and push the entire assembly forward into the slots. Tighten the axle nuts and the nut on the brake bolt.
Replace the chain on the front sprocket.

Replace the chain on the rear sprocket and turn the wheel to roll the chain around the sprocket.
Turn the tensioning bolt to adjust the chain.