|
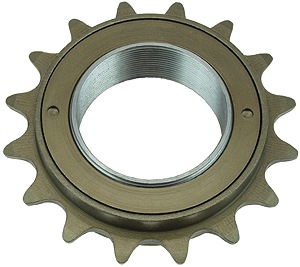
This freewheel mechanism removal method uses common tools which can be found
in most households. This method is destructive to the freewheel, however if
you are replacing the freewheel then it is most likely already faulty anyways.
The removal of the freewheel mechanism requires disassembling the freewheel
to gain access to it's inner threaded core and then using a plumbing wrench
or pliers to unthread the inner threaded core from the threaded wheel
hub.
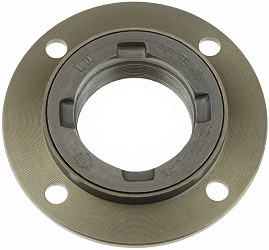
To disassemble the freewheel it's locking ring needs
to be unthreaded and removed first. The locking ring has two indentations on the
front of it to help assist with it's removal.
Use a scribe, punch, nail setter, or small
screwdriver along with a hammer to tap on and unthread the lock ring from the
inner shaft of the freewheel. It is usually not very difficult to remove and
once you get it started with tools it can usually be unthreaded by hand the rest
of the way.
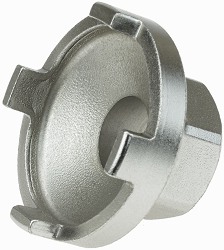
Next pull on and remove the outer part of the
sprocket and the bearings from the rest of the freewheel to expose the
freewheels inner threaded core. Then use a plumbing wrench or pliers to unthread
the freewheel's inner threaded core from the threaded wheel hub.
Installing a new freewheel is easy. Simply thread
the new freewheel onto the wheel hub and hand tighten it. Then install the wheel
like you normally would and take the scooter or bike for a drive. As the scooter
or bike is being driven the freewheel will automatically tighten up and be
properly seated.
|